
Da Uphill Loadout Ranks
Two-gun pairings for stairs, peeks, and street lanes — swap on range, not on a shop.
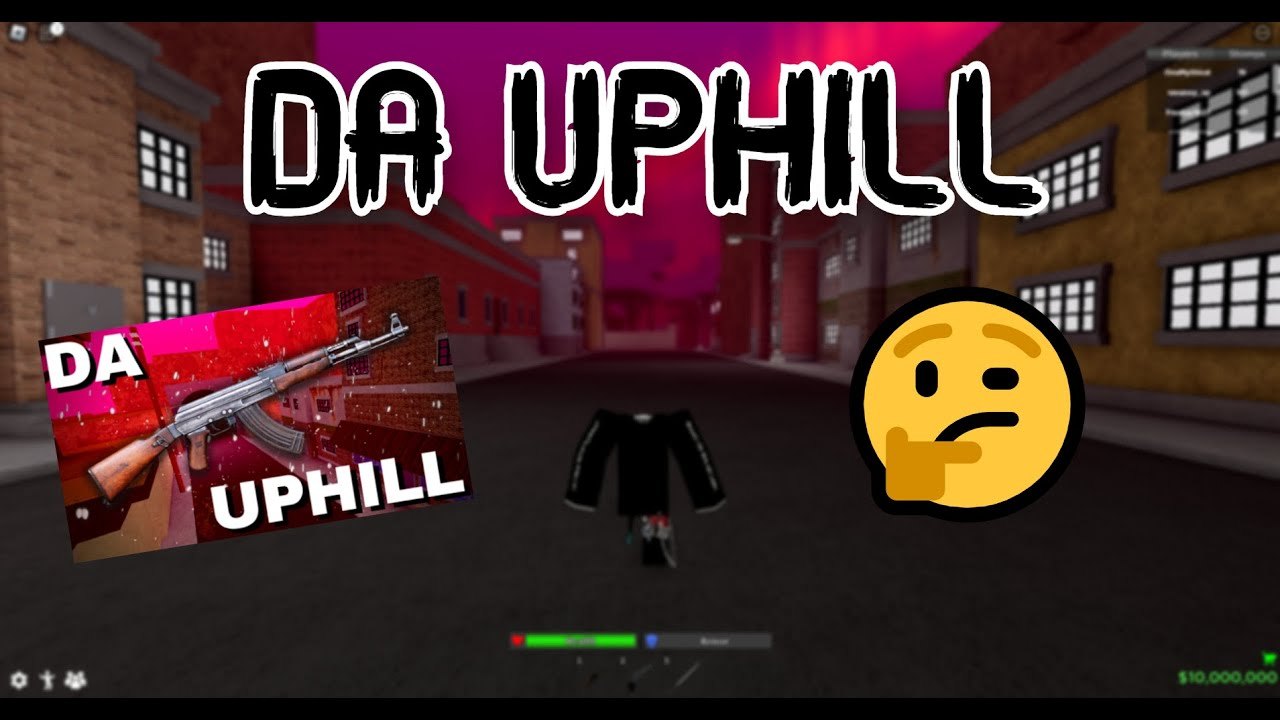
Da Uphill hands you guns and cash the moment you spawn. That sentence is the whole economy. You are not saving for a shop, you are not waiting on a drop table, and you are not packing a kit for a teammate — this is a free FFA on a thirty-player server from VoidFaIIs Entertainment. Cash in the pocket is flavor and a hood leftover. The real resource is time-to-kill: how fast you can finish the body in front of you, reload, and be live for the next one.
A loadout in this game is a pairing, not a purchase. You hold a closer for stairs and doors, and you hold a peek or lane gun for the street. The gun rankings explain each weapon as a letter. This page ranks the pairs: when to start on Double Barrel (DB), when Revolver (Rev) leads, when a shotgun (SG) replaces DB, and when a rifle or AK — the gun on the official thumbnail — is the first thing you should have out.
If you are brand new, read getting started so spawn, binds, and the FFA loop are not a surprise. If you already know the guns and keep dying on the swap, stay here.
Economy is TTK, not shopping
Players coming from other hood games look for a gun store. Da Uphill’s current place does not ask you to farm cash before you fight. You already have the kit. Spending mental energy on “what should I buy” is wasted. Spend it on “what range is the next fight.”
That is why this list talks about swap timing instead of prices. A pair is S when both guns cover each other’s dead ranges. A pair is C when both guns want the same range and leave you empty on the other. Reloads and ammo are the tax. After a kill you either swap to a live gun or you reload the one you just emptied behind a wall. Standing in the doorway counting shells is how stampers eat.
Playstyle decides which pair you start on. Rushers want the closer in hand. Peekers want Rev or rifle. Stampers care less about the first shot and more about arriving with a live gun after someone else dumped theirs. Read playstyles if you keep picking a pair that fights the way you actually move.
S pairing: Double Barrel plus Revolver
DB plus Rev is the default hood pair, and it is S here for the same reason it is S in every brick-street FFA. DB deletes the stair and the door. Rev wins the peek and the mid-body sprint across the street. Together they cover close TTK and peek TTK without asking you to spray a rifle into a closet.
Start on DB if your first plan is an interior. Sprint the approach, take the door, spend one or two shells, then swap to Rev before you reload in the open. Start on Rev if your first plan is a corner. Take one clean ADS shot, and only swap to DB when the fight collapses into a room.
The failure mode is pride. Players who just got a DB kill will reload DB in the same doorway and eat a Rev from the street. Players who just won a peek will keep Rev out as they walk into a stairwell and lose to a waiting closer. The pair is S only if you actually swap.
Ammo discipline is the other tax. DB is greedy. If both shells miss, do not chase with an empty closer. Swap to Rev, take the mid shot, and reset. Rev is patient. If the peek is gone, do not hip-fire the cylinder empty — the next door still needs a live gun.
A pairing: shotgun plus Revolver, or rifle plus Double Barrel
SG plus Rev is the same job as DB plus Rev with a different close-range clock. If spawn hands you shotgun instead of Double Barrel, you are not in a worse game. You take slightly longer hallways a little more willingly, and you dump a little less instant burst. Pair it with Rev the same way: closer for interiors, Rev for corners. Community play still treats this as A rather than S only because DB’s two-shell deletion is the faster honest close TTK when the fight is a true face-hug.
Rifle plus DB is the mixed-street pair. The official icon shows an AK over brick, so a rifle-class gun is part of the kit language. Hold the rifle when you can see a full body on a lane or a hill approach. Swap to DB the moment the fight turns into a door. This pair is A because it wins more street than DB plus Rev, and it loses more interiors if you are late on the swap. On a thirty-player FFA, interiors happen constantly. If you main this pair, you must love the swap key more than the rifle’s spray.
Rifle plus SG is the same idea with shotgun’s timing. Use it when the map is stretching into longer hallways and you still want a closer for the last room. Do not treat rifle plus closer as a reason to ignore reload. An empty rifle and an empty shotgun is just two C guns in one inventory.
B pairing: rifle plus Revolver, or closer plus closer
Rifle plus Rev is a peek-and-lane pair with no true door deletion. You will win streets and lose stairwells. It is B because it is honest on long sightlines and dishonest the second someone takes the stairs below you. If you insist on this pair, you must refuse interiors or you must steal a closer off the next fight — and this game is FFA, not a loot-share. Play the lanes or swap off.
Closer plus closer — DB plus SG, or two of the same close gun if the kit allows it — is also B at best. You have two answers for the door and zero answers for the street. One missed interior and you are peeking a brick corner with a shotgun. That is how you donate a kill to a peeker who actually brought Rev.
C pairing: one gun for every range
C is refusing to pair. One gun out for the whole life, reloading in the open, chasing a wounded target across a street with a closer, or walking a rifle into a closet because the last lane kill felt good. Cash will not save you. There is nothing to buy. The only upgrade is the swap.
C is also the stamper who arrives empty. If your whole plan is to press E on a downed body, you still need a live gun for the third player who is watching the stomp. Read how to stomp so the stomp is an approach, not a suicide. A stamper’s real loadout is whatever gun is still loaded after the last fight — often Rev — plus the discipline to not reload on the corpse.
When to swap
Swap after a kill if the next range is different. Swap before a door if a closer is on your back. Swap after a miss if the gun you just fired is the slow reload. Swap off a dry gun even if you “main” it. Do not swap in the open; take one step of cover.
Do not swap because a video told you a gun is S. Gun rankings are range letters. Your pair is only as good as the range you are standing in. After a patch, check updates in case spawn kits or binds move. Until then, the pairing rule does not change: closer for stairs and doors, Rev or rifle for peeks and lanes, live gun after every dump.
The parent tier list hub keeps this page next to the gun list. Use both. A letter on one gun without a swap plan is half a loadout.
Frequently Asked Questions
Quick answers for Da Uphill FFA, guns, stomp, and codes.
Do I spend spawn cash to buy a better loadout?
No. Da Uphill provides guns and cash at spawn. Economy is time-to-kill and swap timing, not shopping. Put the closer on stairs and doors, and put Rev or a rifle on peeks and lanes.
What is the default pair?
Double Barrel plus Revolver. DB deletes interiors. Rev wins mid peeks. Shotgun plus Rev is the same idea with a different close-range clock. Rifle plus DB is the mixed-street version when you can see full bodies on a lane.
When should I swap guns?
When the range changes, when the gun in your hands is dry, or when you just dumped a slow reload. Swap behind cover, not in the doorway. After a kill, ask whether the next fight is a door or a street before you reload the same gun.
Does a stamper run a different pair?
Stampers still need a live gun. Arrive on a loaded Rev or closer, take the stomp, and do not reload on the corpse. The third player watching the stomp is the real fight. Pairing does not change; greed after E does.